GNet CCTV GUIDE
Configuration of cameras
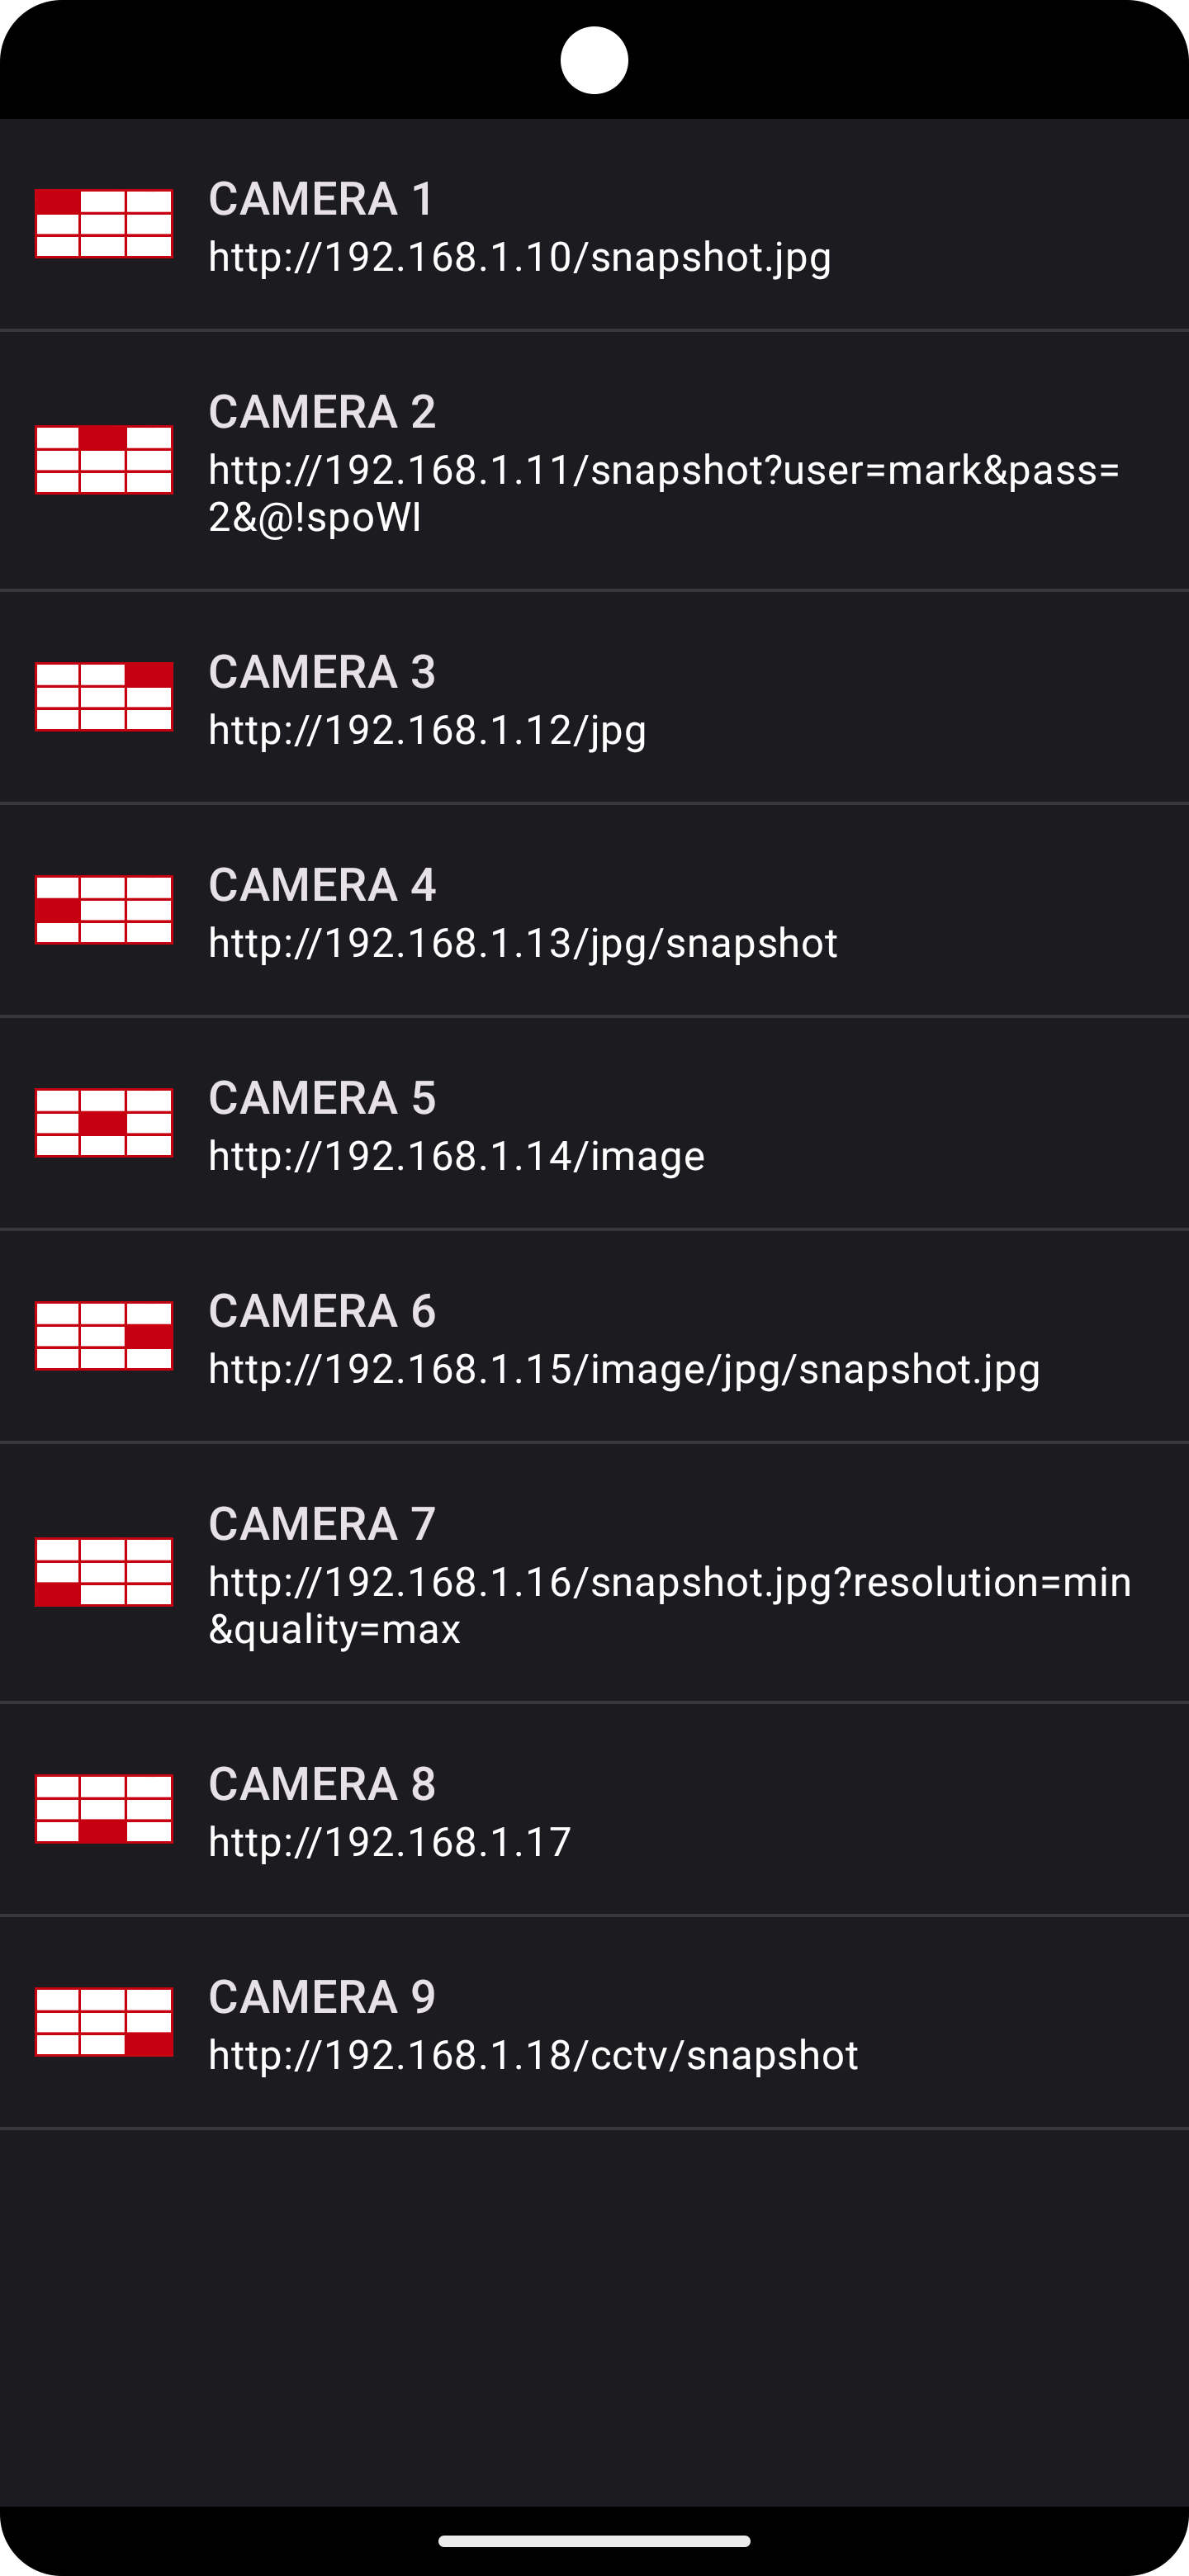
CAMERAS SET SCREEN
There are 9 cameras you can define.
In this case all cameras are set to show different possible configurations
It’s widely accepted to configure cameras in order
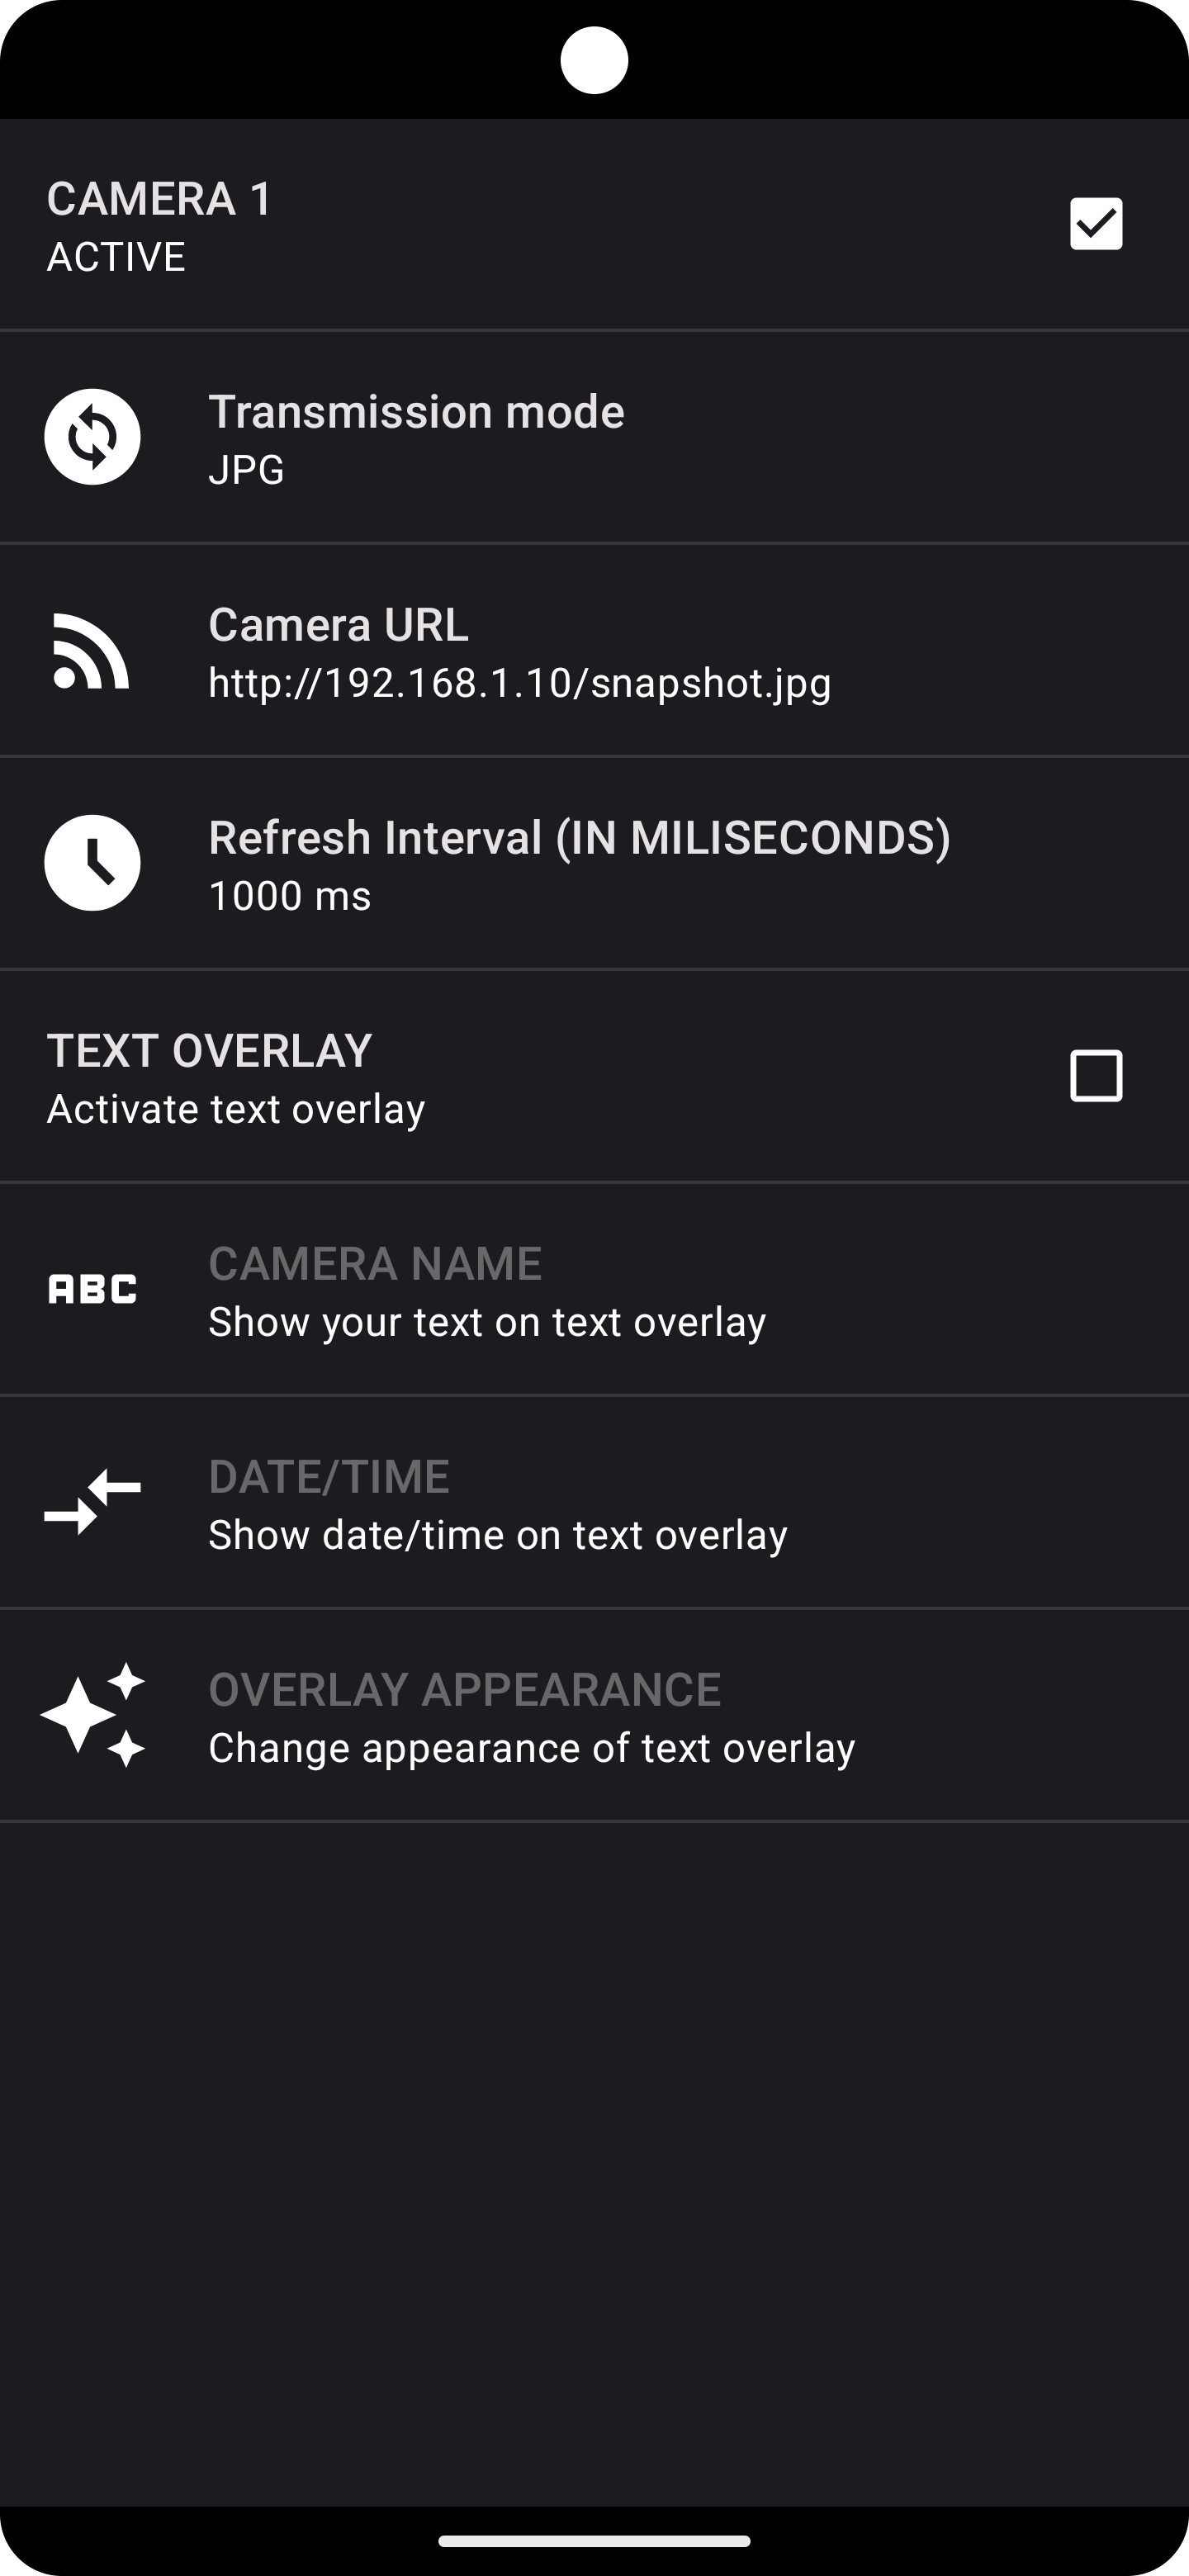
CAMERA MENU
Parameters required for camera to be active
TRANSMISSION MODE
CAMERA URL
REFRESH INTERVAL (if transmission mode is set to JPG)
Checkbox in top right of the screen needs to be activated to turn on camera
Proceed to next section to learn about specific parameters
TRANSMISSION TYPE
You can set 2 types of camera transmission
JPG
MJPG
JPG is picture that needs to be refreshed. If you have static image from your camera, you have to set JPG in transmission mode
MJPG is motion picture that isn’t require refreshing. If you have movie-like stream from your camera, you have to set MJPG in transmission mode
CAMERA URL
Camera URL is camera address you want to show
Cameras have different URL’s, depending on manufacturer. Some of them only have MJPG stream, others only JPG. Referer to TRANSMISSION TYPE to learn more about transmission types
If you can’t find your camera URL, Search in google for phrase “MyCameraManufacturer MODEL3 snapshot url” (FOR EXAMPLE: MyIPC NX3 snapshot url). Finding this address can be tricky and time consuming.
Tools like ONVIF Device Manager can help you find your camera snapshot URL
Manufacturer and model name is example
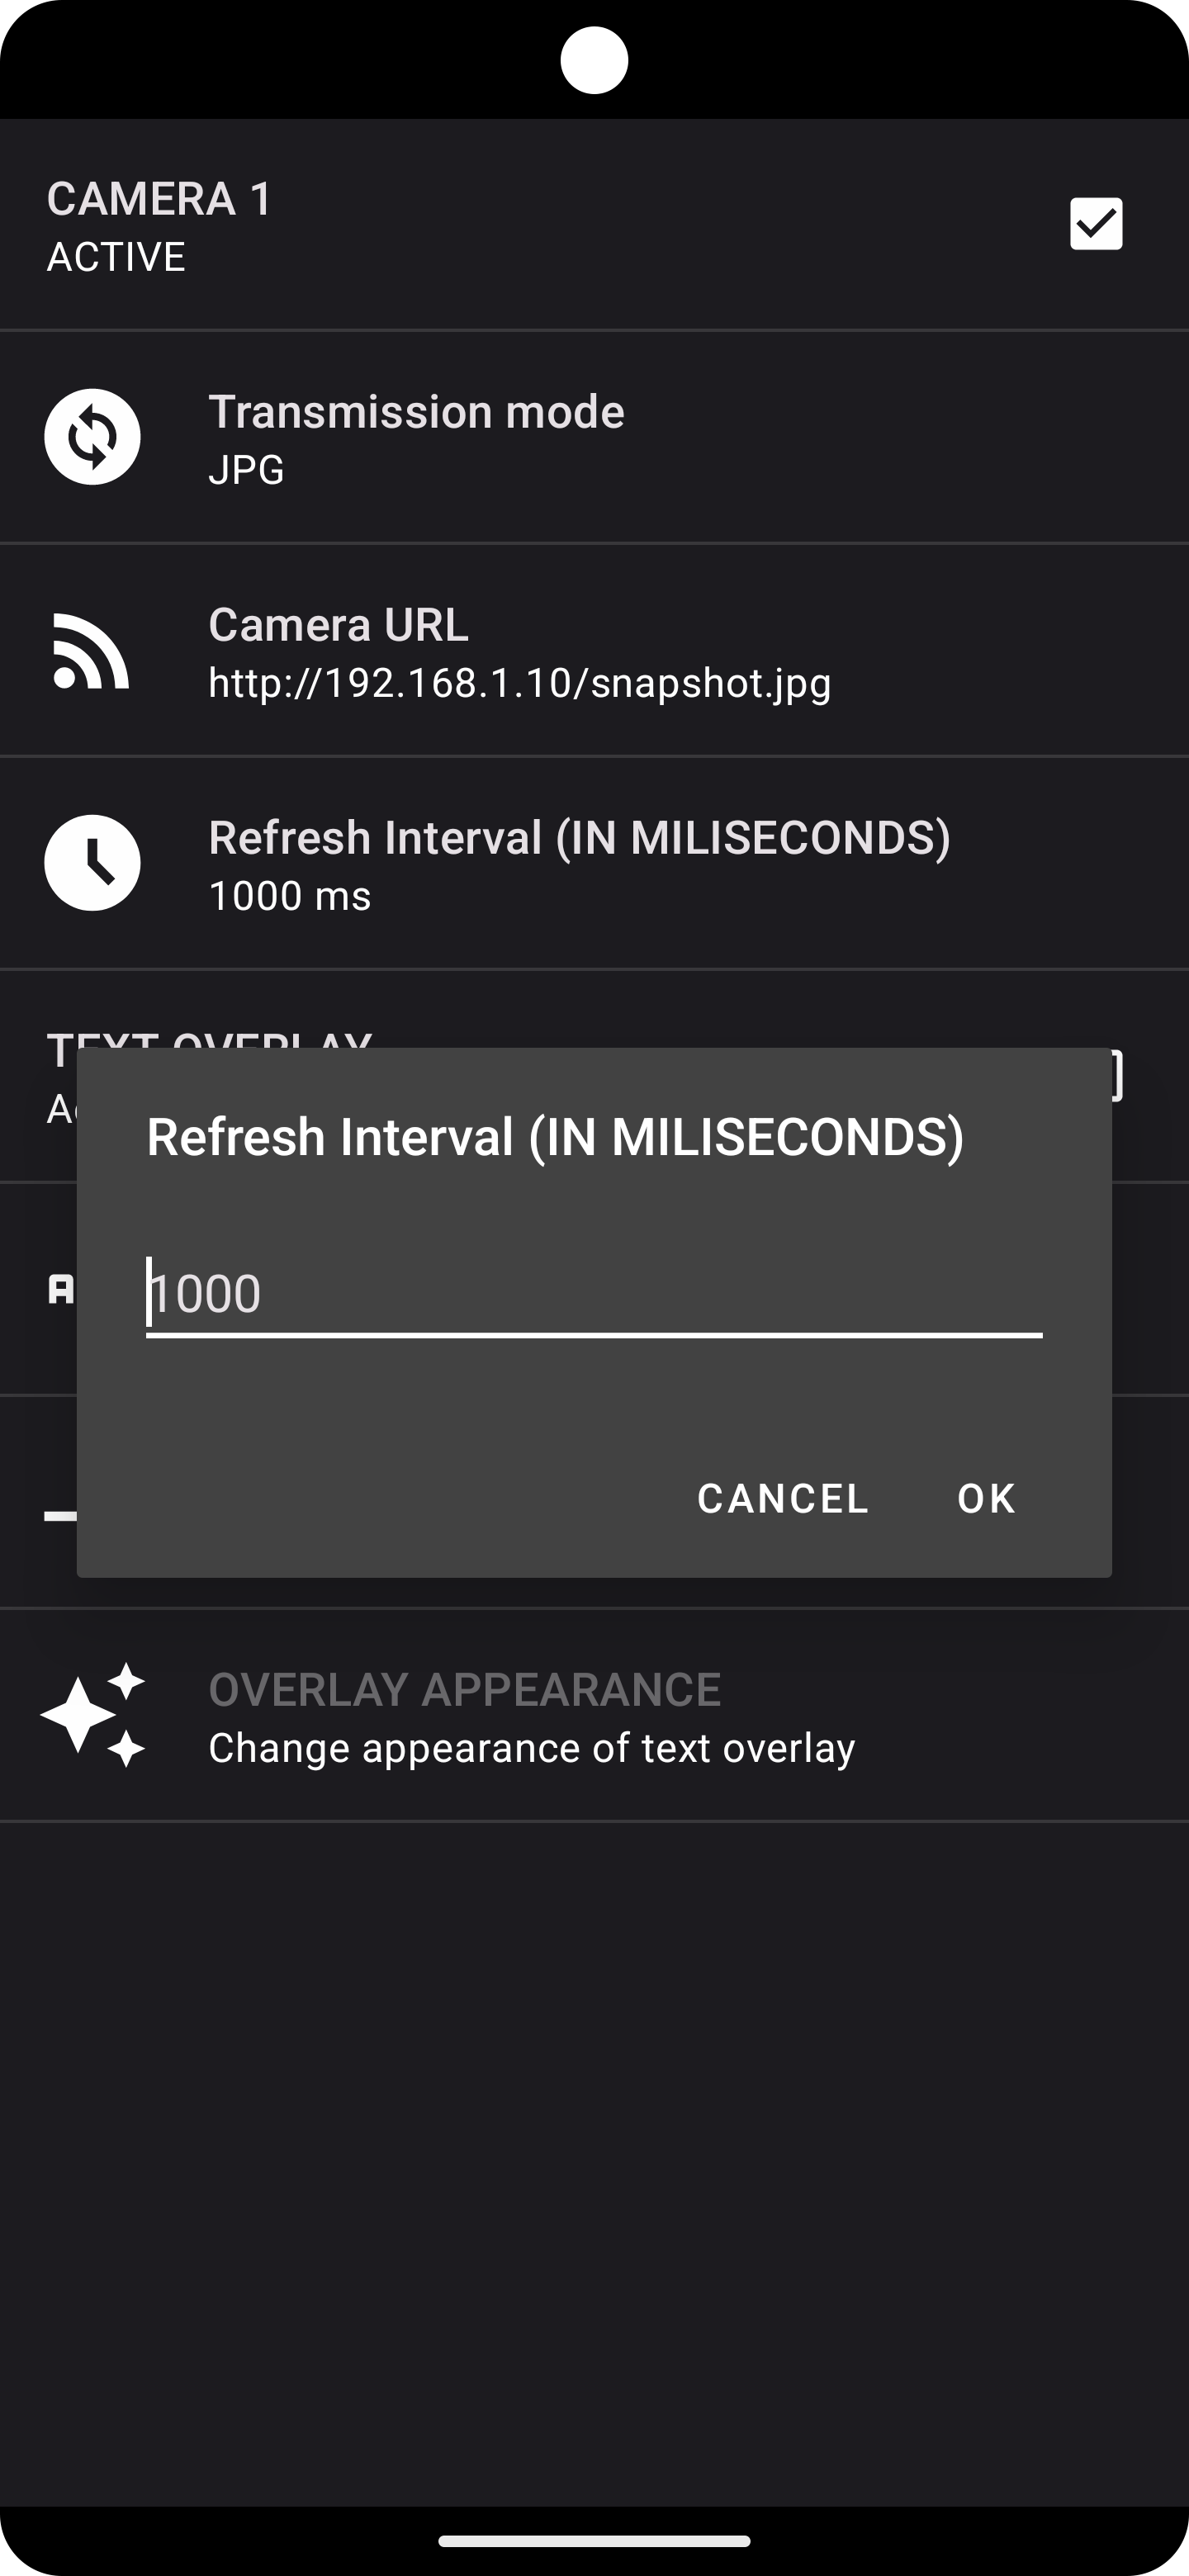
REFRESH INTERVAL
Refresh interval is used only if you set transmission mode to JPG. Reffer to TRANSMISION MODE to learn more
Refresh interval is time in miliseconds used to determine when your camera have to refresh it’s image
1000 miliseconds – 1 second
If you want your camera to refresh image every 1 second, simply set refresh interval to 1000
If you want your camera to refresh image every 5 seconds, simply set refresh interval to 5000
Cameras are heavily data consuming. If you have 9 defined cameras and every one is set to be refreshing every 1 second – that is lot of data and device computing power used. Strong device and stable WiFi or Cellular is required.
Setting the refresh interval below 500 milliseconds may cause problems. The image may simply not have time to load
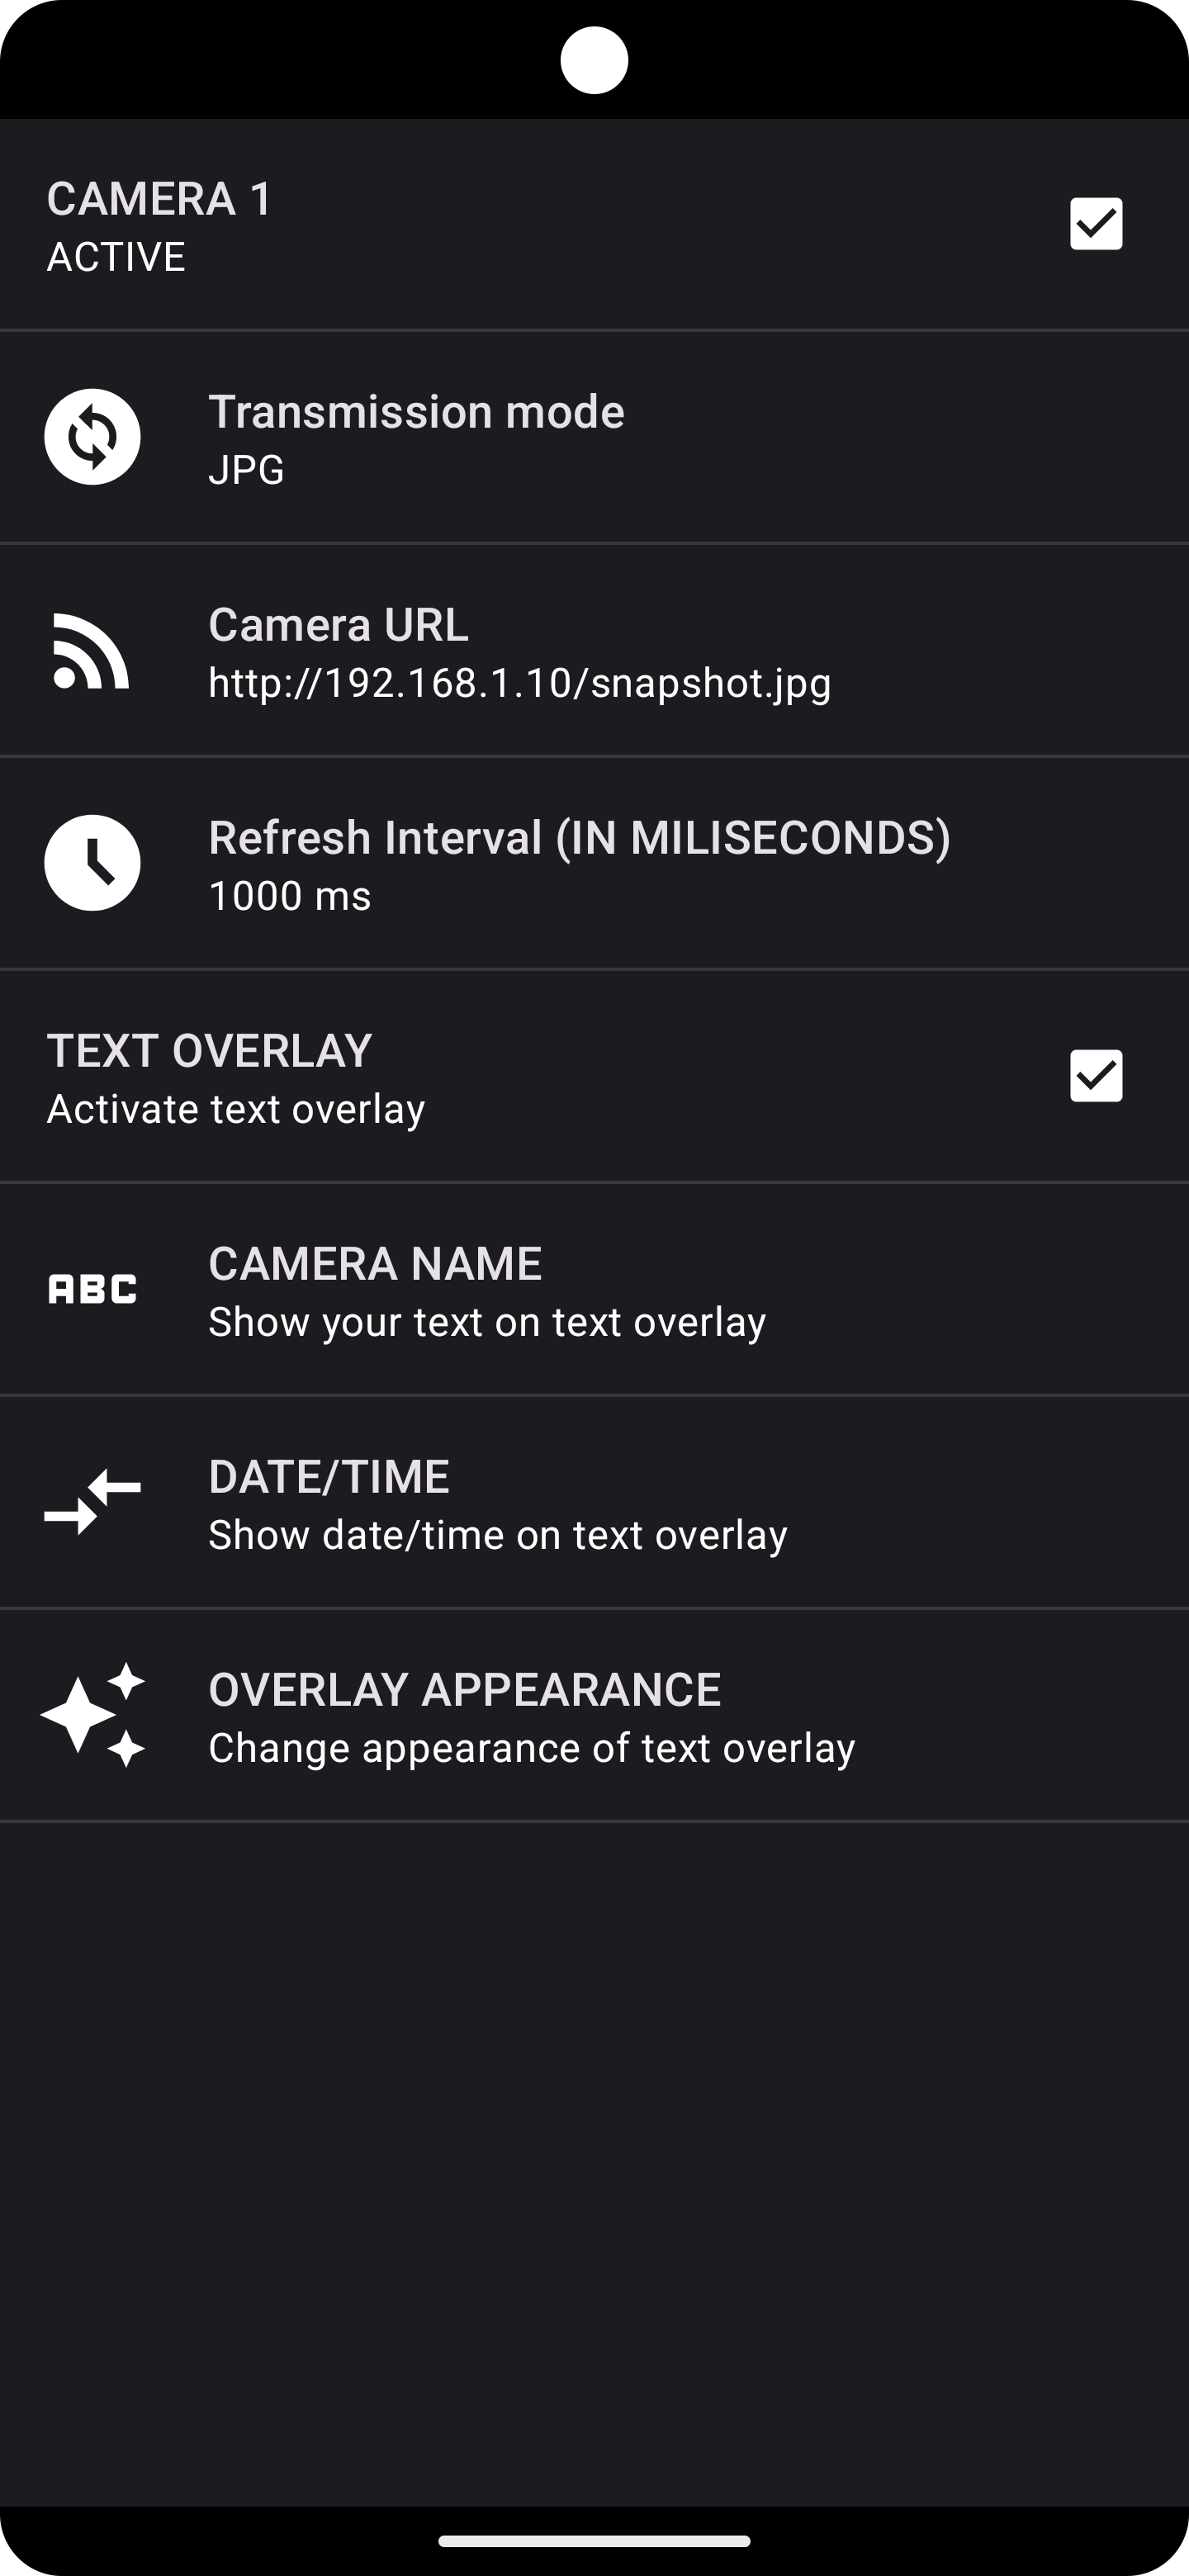
TEXT OVERLAY
Every camera you define can display text overlay
Text overlay configuration options
- CAMERA NAME
- DATE / TIME
- OVERLAY APPEARANCE
Checkbox next to “TEXT OVERLAY” needs to be activated to turn on TEXT OVERLAY
Refer to next sections to learn more about TEXT OVERLAY configuration
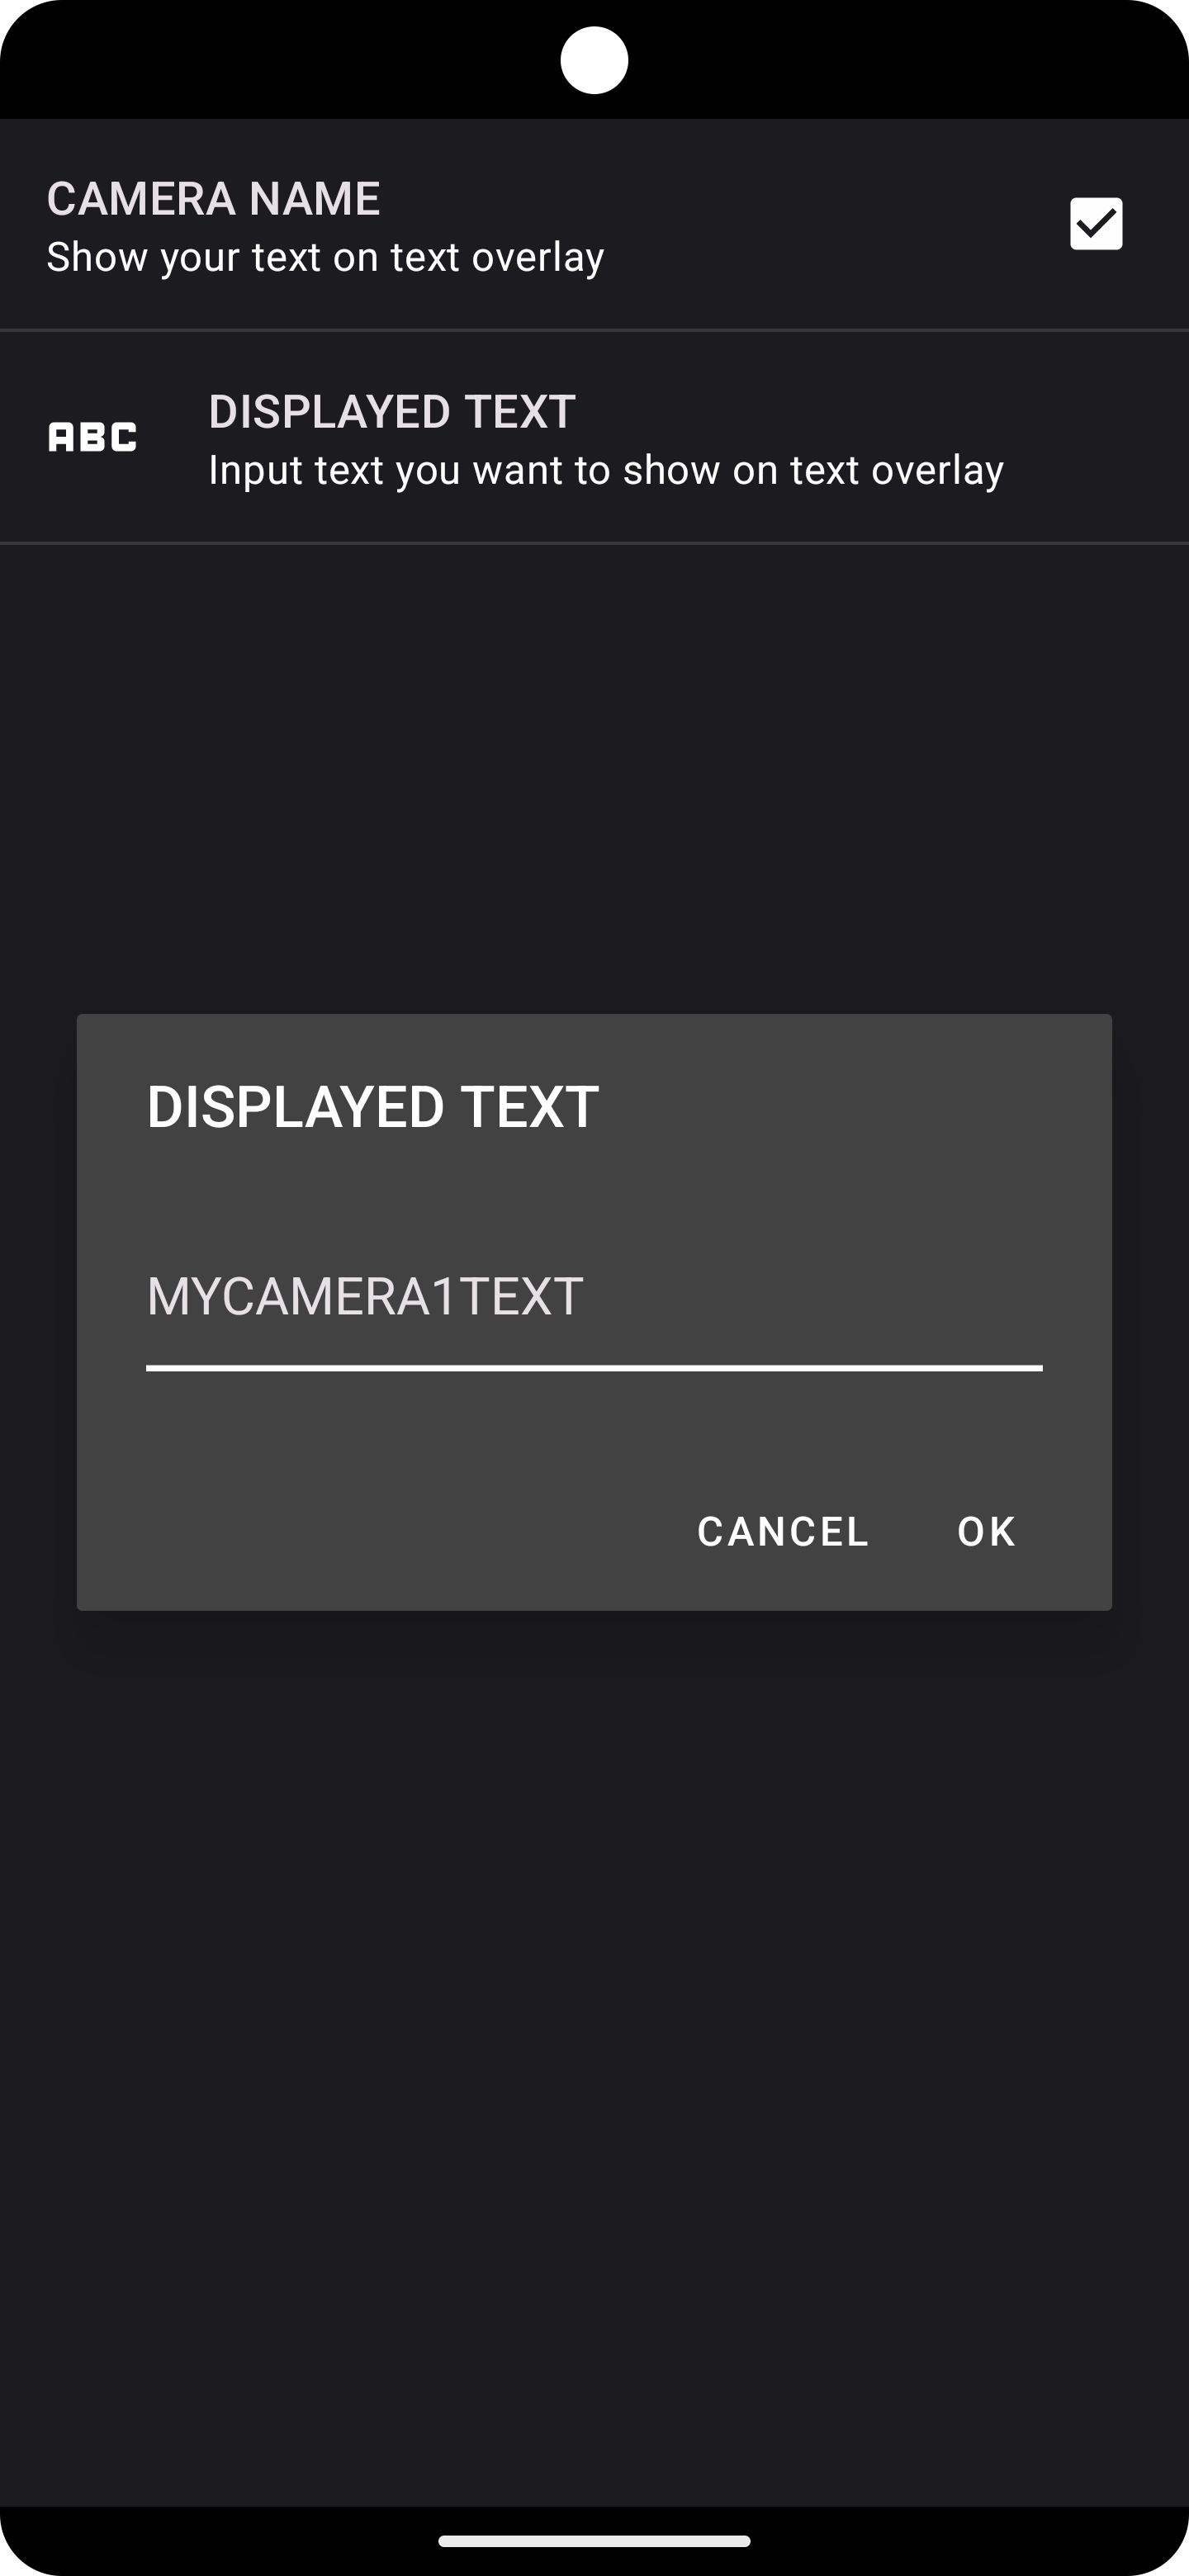
TEXT OVERLAY – CAMERA NAME
Camera name is text displayed on camera window you defined. It can be everything from simply “CAMERA1” to “I wish to have more cameras”
Checkbox in top right of the screen needs to be activated to turn on camera name
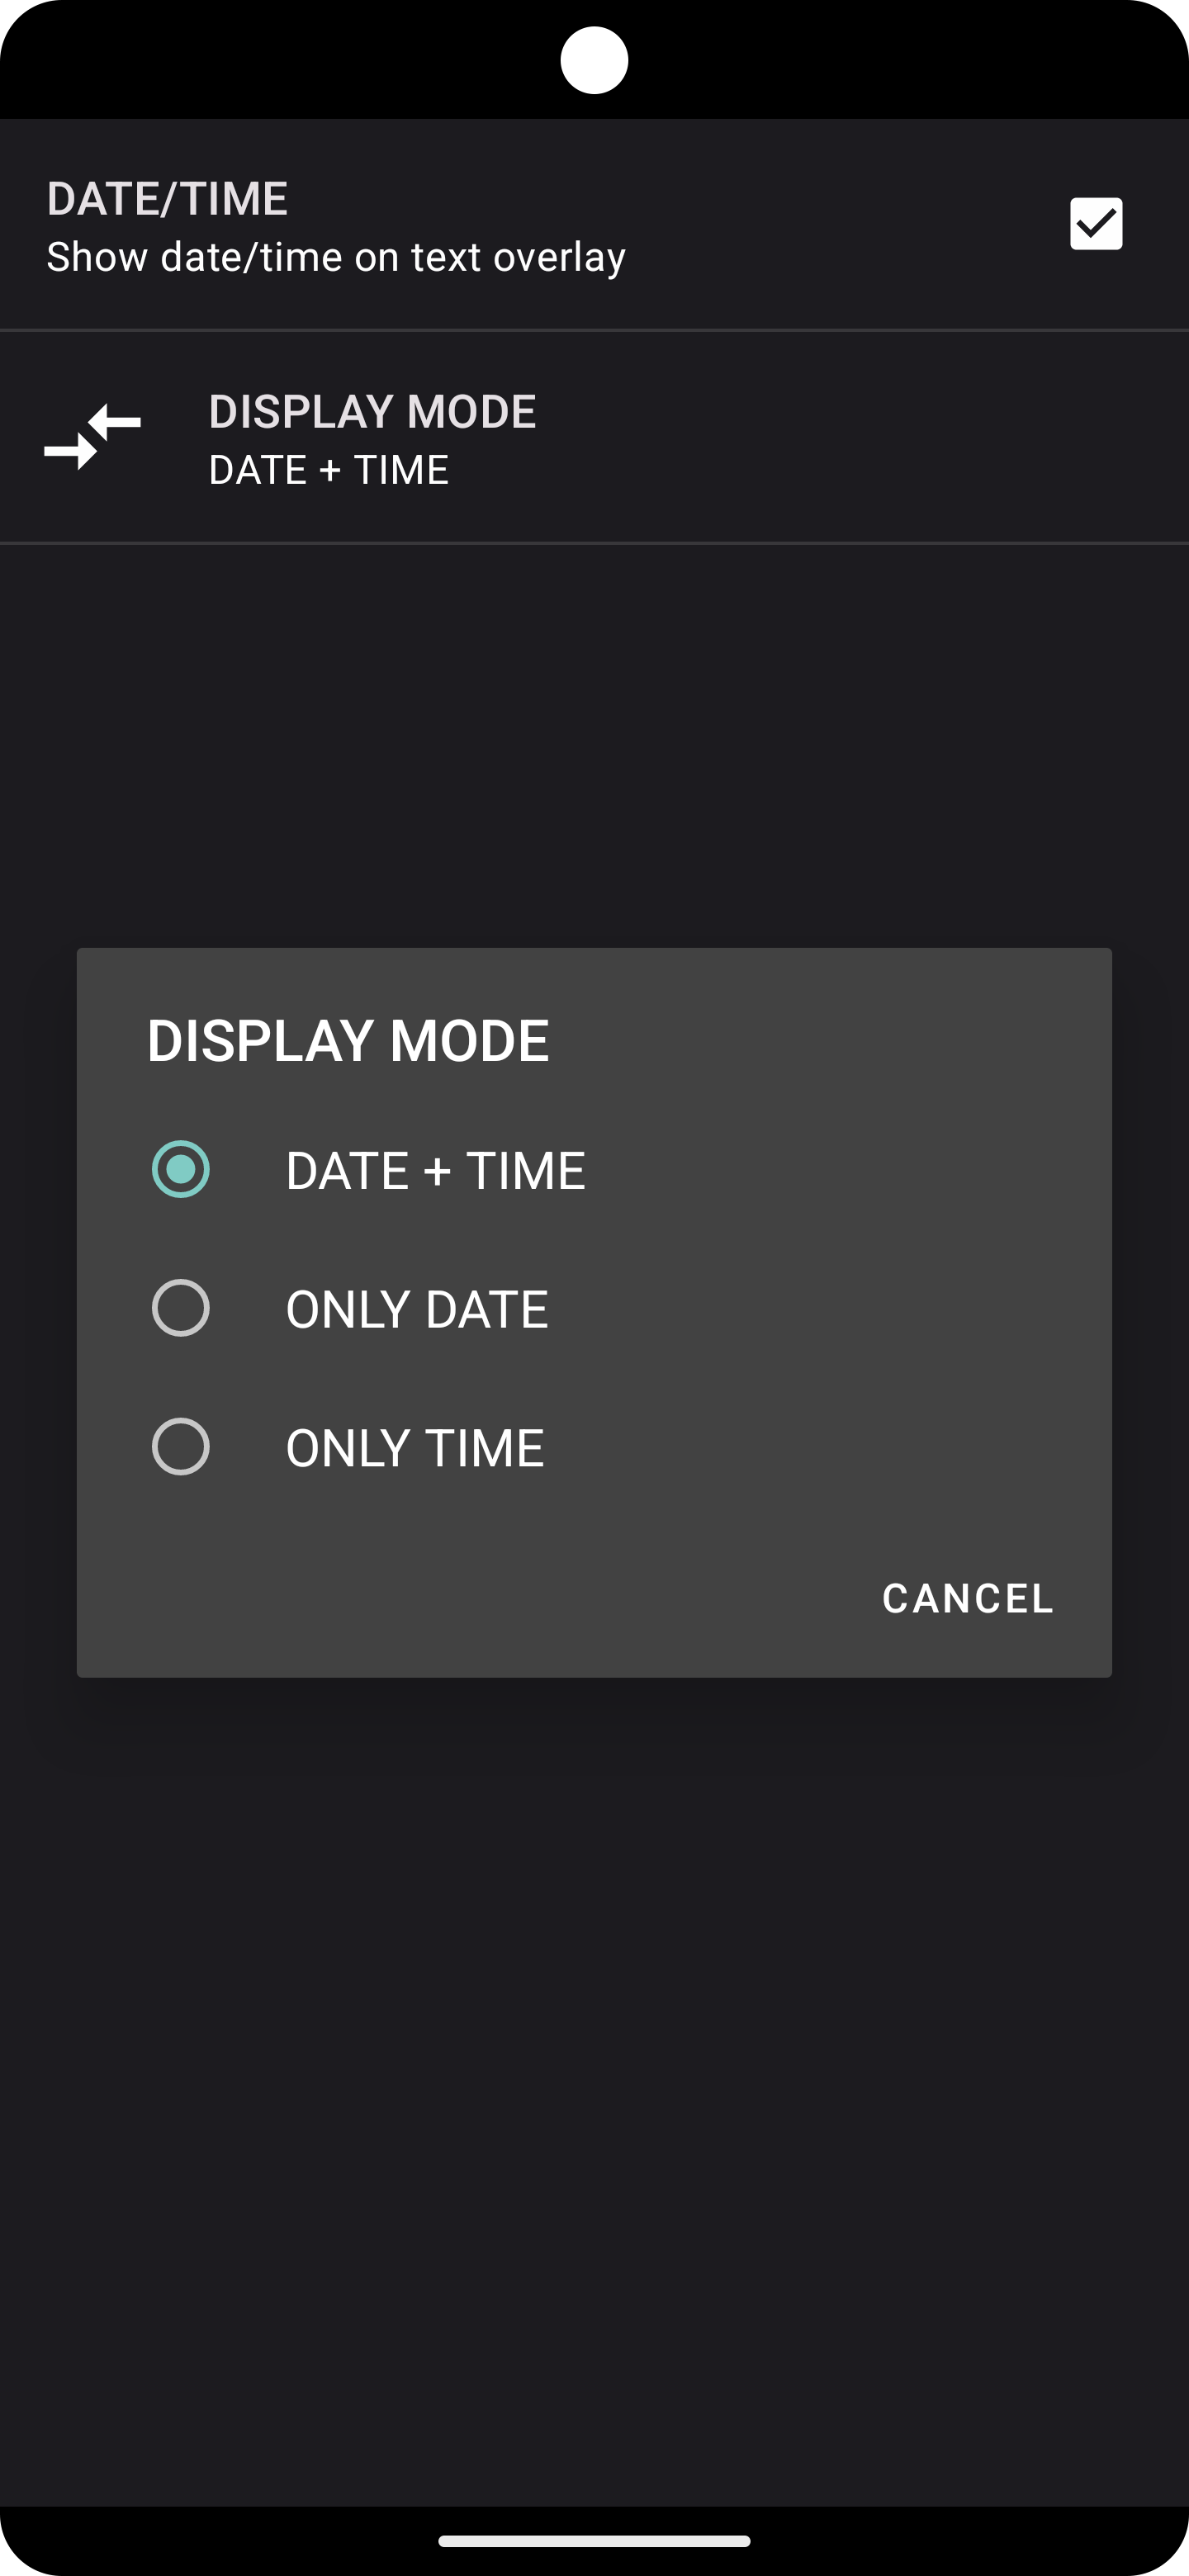
TEXT OVERLAY – DATE / TIME
In this section you can choose to display CLOCK on camera window.
DATE / TIME OPTIONS:
- DATE + TIME ( example. 09.02.2023 13:30 | 02.09.2023 1:30 PM )
- ONLY DATE ( example. 09.02.2023 | 02.09.2023 )
- ONLY TIME ( example. 13:30 | 1:30 PM )
Clock is adapted to your local time device settings
Checkbox in top right of the screen needs to be activated to turn on DATE / TIME
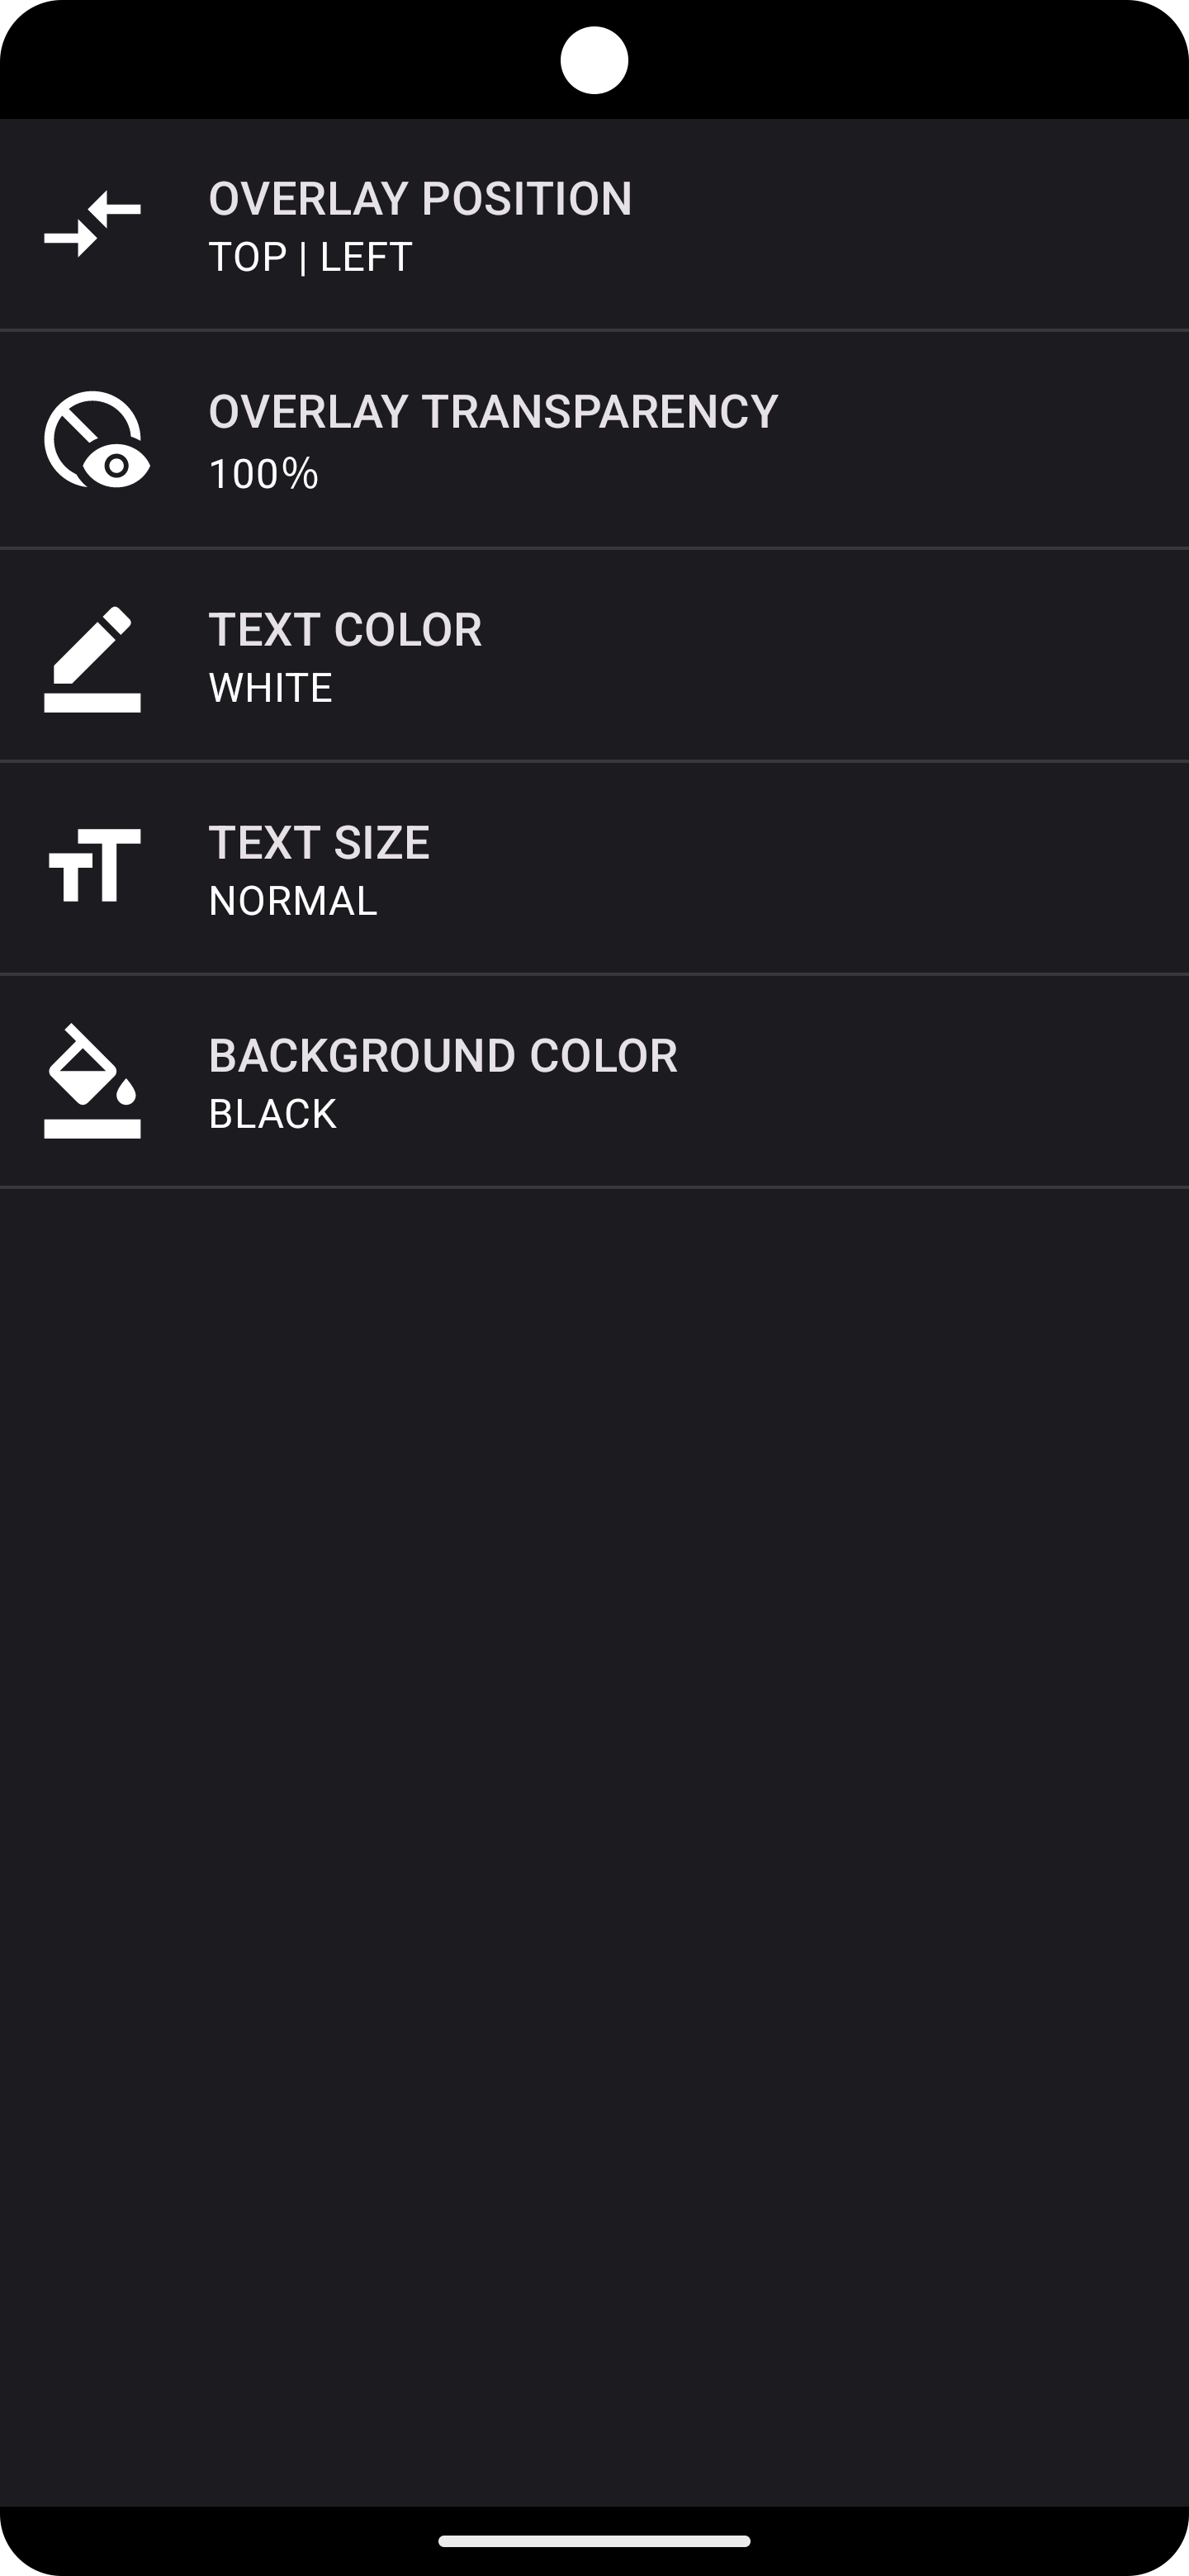
TEXT OVERLAY – APPEARANCE
In this section you can set TEXT OVERLAY appearance.
All options are self-explaining
In default mode TEXT OVERLAY will display in this settings:
- POSITION – TOP | LEFT
- TRANSPARENCY – 100%
- TEXT COLOR – WHITE
- TEXT SIZE – NORMAL
- BACKGROUND COLOR – BLACK